Step 1: Prep Your Surface
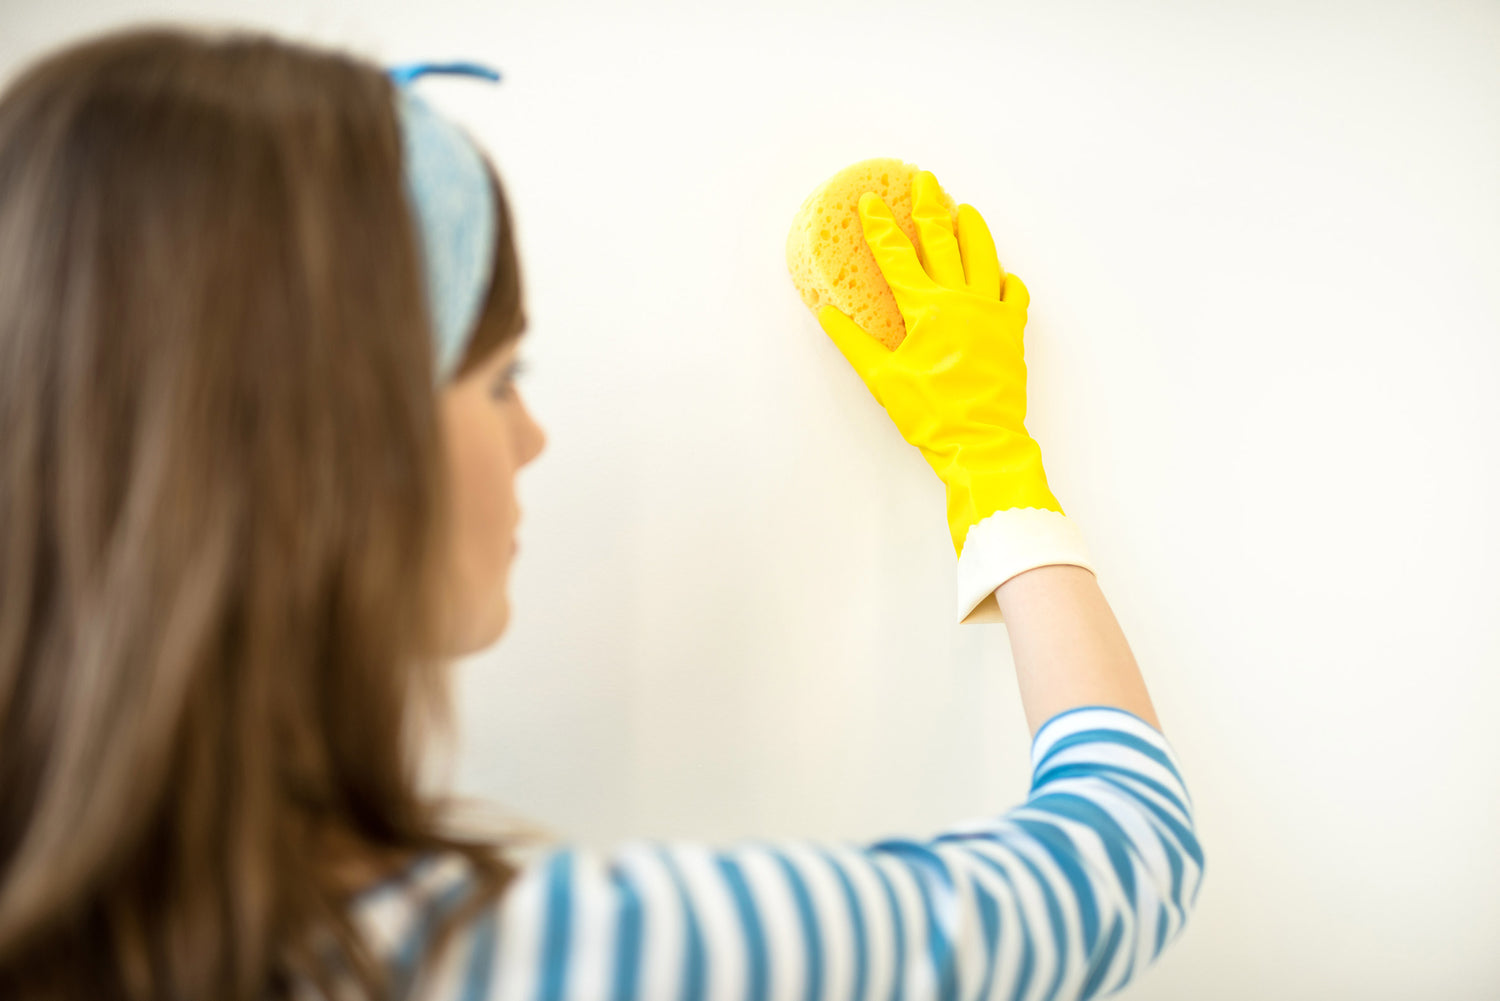
Ensure your surface is clean and dust free. Surface should be
a light, solid color. You will want to patch any damaged areas or smooth any rough/sharp edges that may tear the paper. Wallpaper will adhere best to eggshell, satin, semi-gloss and gloss paints. Applying either of our wallpapers to matte paint may result in paint damage upon removal.
While priming your walls with a primer is not necessary, it is highly recommended if you are attempting to apply wallpaper over a wall painted with No-VOC or washable paint. NOTE: It’s best to wait 30+ days before wallpapering over a freshly painted or primed wall.
If you are not priming your wall with paint first, simply clean the existing surface with a washcloth and water. NOTE: some cleaning
solutions, like window cleaner, include ingredients that can break down the wallpaper adhesive and prevent the paper from sticking properly.

Step 2: Laying Out Your Paper
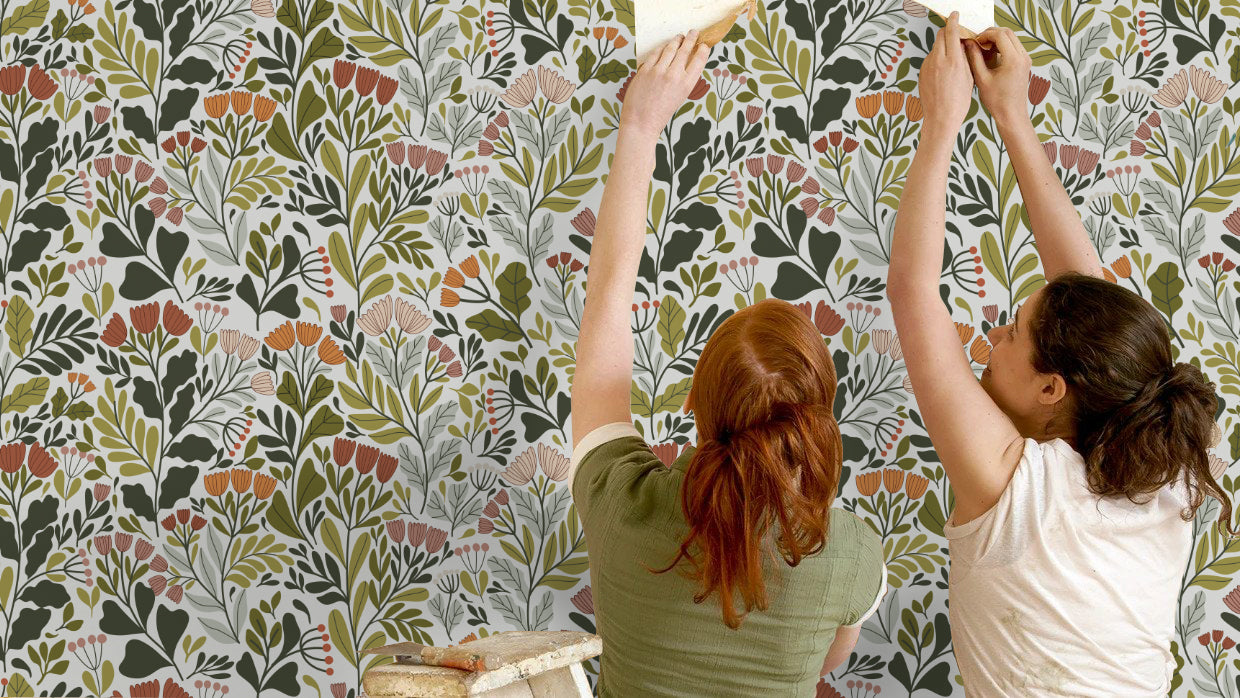
We highly recommend inviting a friend to help you with the
installation! The more patient the friend, the better!
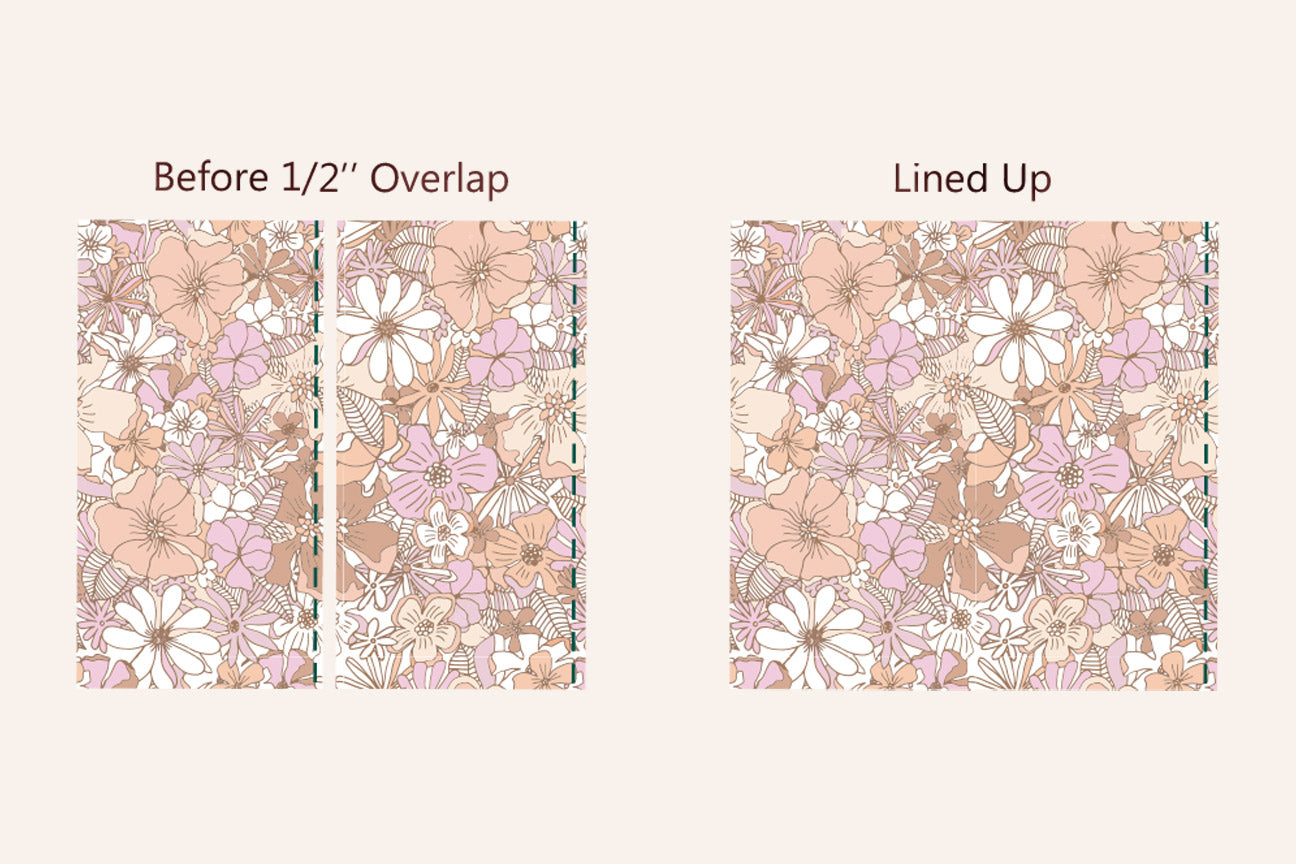
Your paper will come in 2’ rolls. Each 2’ roll will include a ½” overlap to help you line up your design properly. We recommend installing your wallpaper from the left- or right-hand corner of the room. Your panels can be hung in any order, as the pattern is repeating.
NOTE: mural orders will come numbered and must be installed
from left to right in the order they are numbered.

Step 3: Installing Your Paper
Peel away roughly 6” of the paper backing from the top of the first roll. Place a few inches of the exposed back in place with at least 1-2” above the top edge of the wall. We ecommend using a level to ensure the design is level before moving forward. Adhere the paper to the wall from the center of the panel and use the squeegee to gently smooth the paper from the center to each edge. If you are seeing large bubbles, it’s best to reposition the paper before moving forward. Continue to do this in 4-6” increments, smoothing as you go.
NOTE: peel and stick wallpaper can be repositioned during the
initial install process, so take your time and reposition as needed. To
reposition the paper slowly peel the paper from the wall and reapply.
Once you’ve finished your first panel you want to hold up
your 2nd panel and find the point where the design lines up (note: the ½” overlap on the first panel). Once the two panels have been lined up properly proceed with the installation, following the same steps as panel 1.
Once all panels are in place trim the edges with a fresh
blade. We recommend using a straight edge along the ceiling, baseboards and edges of the walls to assist with cutting. Our fabric woven paper is rather thick, so a sharp knife is imperative. Make sure you have extra blades handy.
If you are installing around windows, corners, or over
outlets, YouTube is a great source for how to videos. We’ve linked several of our favorites on our website.
NOTE: If you are wallpapering multiple walls or all four walls in a room, it’s likely that the last panel may not align seamlessly with the first. We recommend hanging the first panel behind an open door or behind a taller piece of furniture to distract from any visual disconnect.

Removal
Many factors come into play when determining how long your wallpaper will remain in place, which still being easily removed. A fair estimate for the life of our wallpaper is 2 years. Wallpaper can be removed by lifting the exposed corner with a knife edge and peeling down on the paper. Pulling AWAY from the wall, instead of down, can result in unnecessary removal of paint.

